 World is shrinking, and so are the data storage devices. One common device which every one use is USB devices like thumb drive, PEN drive, USB Hard disks etc...
After floppy disks which were earlier prone to many viruses, now it is time for USB Devices. Below are some safety precautions that you may perform before transferring data from USB devices.
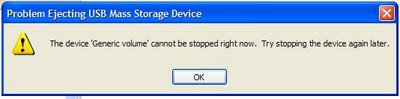
1) When you plug in the USB device in your system (Desktop / Laptop), you will most likely be prompted by a popup window as shown below.
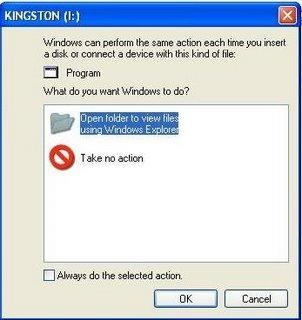
2) Dont select any of them, simply click cancel.
3) Goto Start -> Run and type cmd to open the Comman Prompt window
4) Now double click My Computer Icon (which is usually present in the desktop). It should show the list of drives available in this machine. Check the drive letter of the inserted USB Device. (As in above case it is (I:))
5) Go back to the command prompt and type the drive letter and hit Enter.
6) Now type the below command and hit Enter. This command displays all the hidden files and folders in the current working drive (I: Drive in our case)
I:\> dir/w/o/a/p
7) You will be able to see a list of files, after you run the above command. In the list, check if you see any one of the files mentioned below,
- Autorun.inf
- New Folder.exe
- Bha.vbs
- Iexplore.vbs
- Info.exe
- New_Folder.exe
- Ravmon.exe
- RVHost.exe
or any other unknown .exe files that you are unaware of and you have not copied to the device earlier.
8) If you find any one of the files listed above, you are right!!! you have got a virus in your USB device. Don't panic, it will be transferred to your system and start its duties only when you start copying the files to your computer's hard drive.
9) Now that you have confirmed that you have virus in your USB device, now type the following command and hit enter
I:\> attrib -h-r-s-a *.*
attrib command is for displaying and changing the attributes of the files.
10) Now Delete each of the files that you were not aware of and found to be on the above list by using the below command and hit enter
I:\> del <filename>
For eg. I:\> del Autorun.inf
11) That's it, you did it!!!!!!!! now your USB Device is free of virus.
Note: Some viruses are vulnerable to antivirus softwares. When unnoticed these viruses sits in system registry and doesnot allow the antivirus software to locate the source file. But it generates a virus child file in all the folders of the system. Antivirus software may detect the child file and delete it, but it keeps on generating. It cannot be stopped until source virus file is removed.


 Vista has the option to encrypt and decrypt files by accessing the properties dialog. But there is a better and faster way to do it—just add these options to the context menu. Open the Registry editor and navigate to HKEY_CURRENT_USER\Software\Microsoft\Windows\CurrentVersion\Explorer\Advanced
 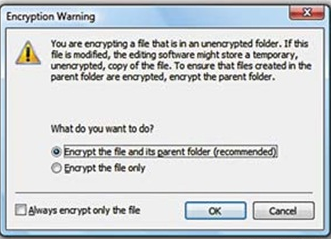 In the right pane, create a new 32-bit DWORD value called Encryption Context Menu and give it a value of 1. Now whenever you rightclick
 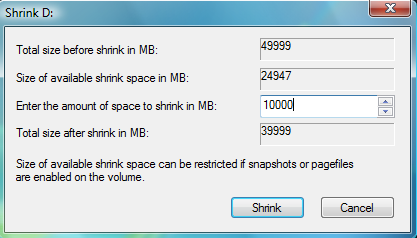 Windows Vista comes with Disk Management, which even lets you shrink or expand volumes without destroying data on them. No need to buy expensive third-party utilities! Open the Control Panel, type in
 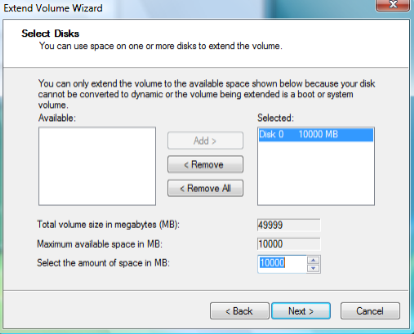 expanding to achieve the best results, since the operation is dependant on the amount of contiguous free space available.
 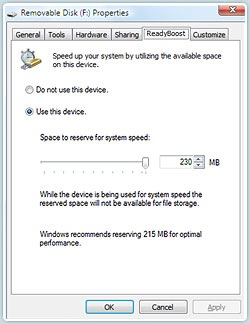 ReadyBoost is a disk caching technology first included with Microsoft's Windows Vista operating system. It aims to make computers running Windows Vista more responsive by using flash memory on a USB 2.0 drive, SD card, CompactFlash, or other form of flash memory, in order to boost system performance.
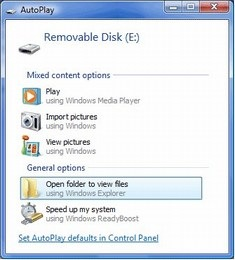

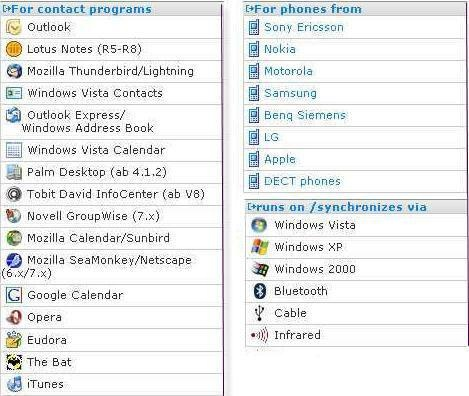
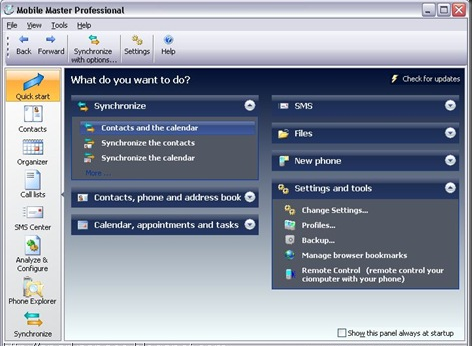
 UltraVNC is an easy to use computer program that can display a screen of another computer (via Internet or network) on your screen. UltraVNC will allow users you to use their mouse and keyboard to control the other PC remotely. It means that you can work on a remote computer, as if you were sitting in front of it, right from your current location.
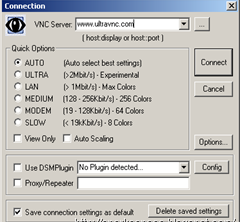
 A small utility that enables you to remove the Microsoft Windows Genuine Advantage Notifications tool.

 double-click on "Regional and Language Options" icon and click on the tab "keyboard and languages".
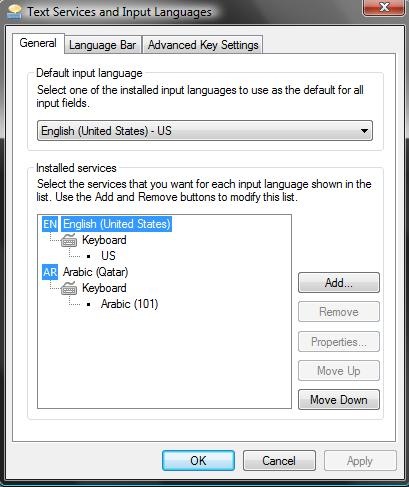


 Disk-on notifications helps you to know when this volume is visible or disabled. If you click on the balloon the Explorer window will be opened on the disk.


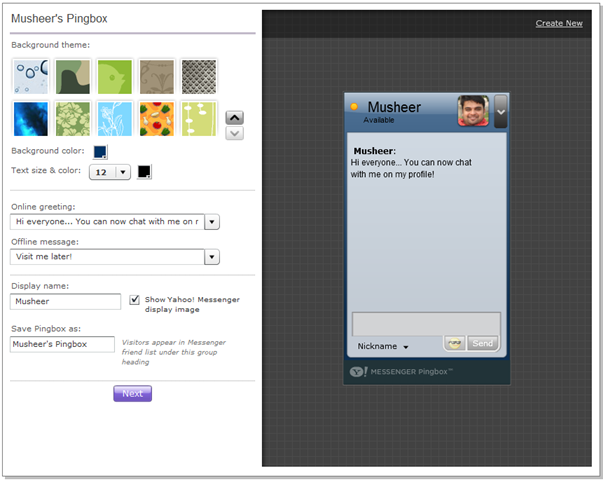
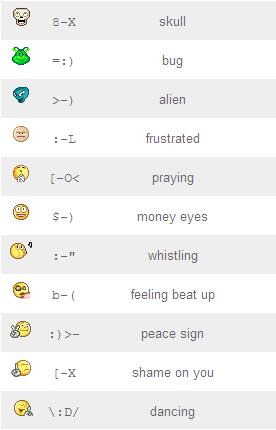
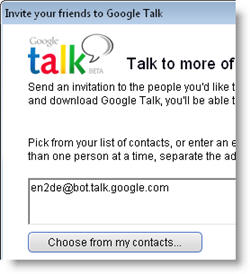 Meeting new people and chatting with them on
  Once you’ve added a bot, open a chat with it and type in the sentence you want to translate. The bot will reply with the translation, ready for you to copy on your friend’s chat window. Needless to say, you can use these automatic translations for multiple purposes: from being able to communicate in several languages to playing a joke on a friend or – only for the most cheesy ones – saying “I love you” in a dozen different languages.
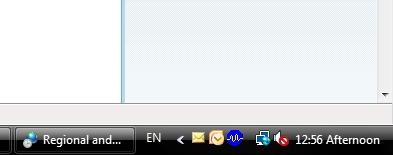 I like customizing my computer to a certain extent – wallpapers, fonts, a few colors and that’s it – but some people seem to be addicted to customization. They change almost every element on the PC, from a complete visual theme to the icons used for every single app. Thinking about these customization addicts, I’ve come up with a simple trick that lets you put any text on the system tray, beside the Windows clock. Want to know how?
 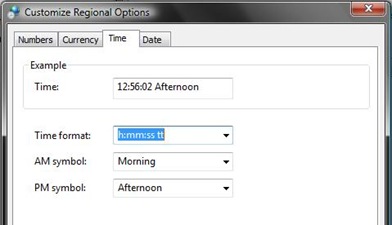 All you have to do is open the Control Panel and click on the Regional and Language Options icon. Then click on the Customize button on the window that’s just opened and select the Time tab.
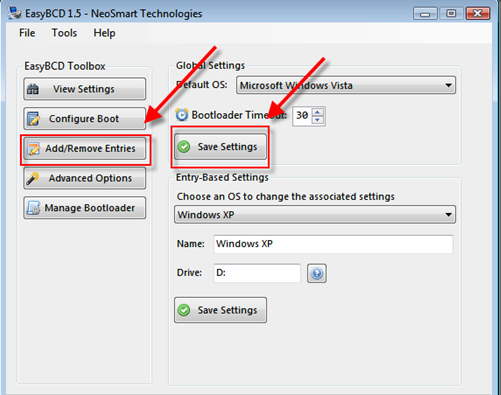
 It’s a crazy situation - and one that you feel only Microsoft could have created - but there are many users who feel that Windows Vista is so bad, they’ve actually gone to the effort of replacing it completely with Windows XP. It’s a controversial step that shouldn’t be taken lightly because Microsoft have now discontinued production of XP.


